
A Simple Breakdown of the Process From Start to Finish
If you are planning drywall installation, you can expect a clear step-by-step process that starts with prep work and ends with a smooth surface ready for paint. The job includes measuring, hanging panels, sealing seams, applying joint compound, sanding, and final touch-ups. Knowing what happens at each stage helps you plan your time, budget, and daily routine.
Quick Answer: How Drywall Installation Works
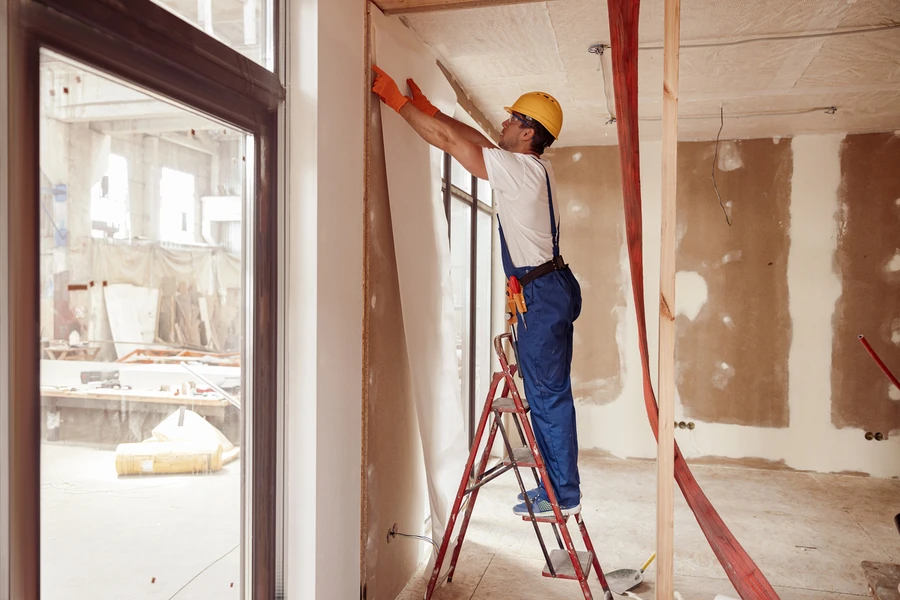
Drywall installation is the process of attaching large drywall sheets to wall studs or ceiling joists. Once the panels are secured, the seams are taped and covered with joint compound. After drying and sanding, the surface becomes smooth and ready for primer and paint. Most standard rooms take a few days to complete because drying time is needed between coats.
Even smaller projects can create dust and noise. That is normal. A good crew will protect floors, seal off nearby rooms, and keep the area as tidy as possible.
What You Need Before Starting
Before work begins, a few things should be in place. Good preparation helps the project go faster and avoids delays.
- Clear furniture and wall decor from the space
- Remove outlet covers and switch plates
- Make sure electrical and plumbing work is finished
- Confirm insulation is installed, if needed
- Plan for limited access to the room
If this is part of a remodel, all framing should be complete. Studs must be straight and secure. If they are uneven, the finished wall may not look smooth.
Step-by-Step Process
Here is how a typical drywall installation project moves forward:
- Measuring and cutting: Sheets are measured and trimmed to fit walls and ceilings.
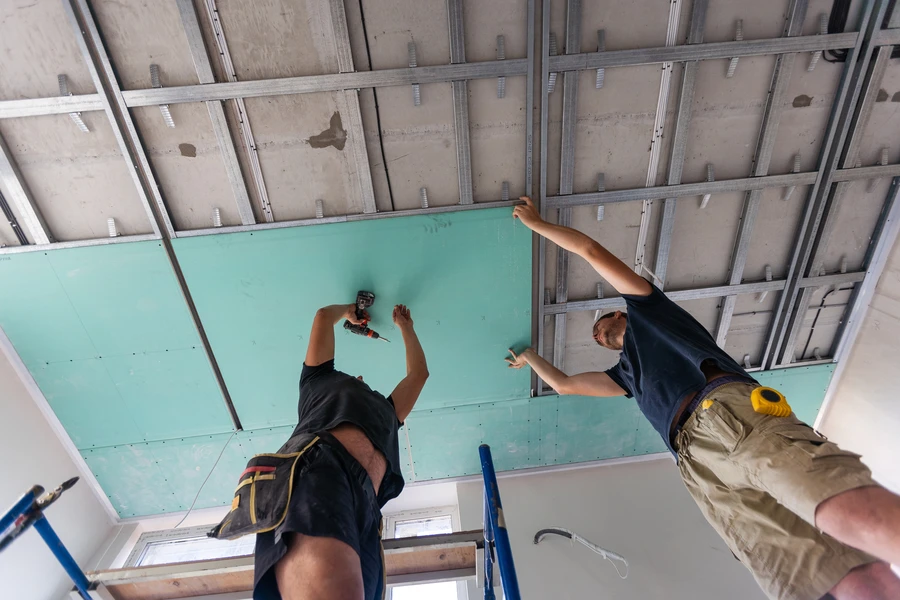
- Hanging panels: Panels are lifted into place and attached with screws to wood or metal framing.
- Taping seams: Joint tape is placed over the gaps between sheets.
- First coat of compound: A layer of joint compound covers tape and screw heads.
- Drying time: The compound must dry fully before sanding.
- Second and third coats: More thin layers are applied and sanded for a smooth finish.
- Final sanding and cleanup: The surface is smoothed out and dust is cleaned.
Each coat of compound needs time to dry. Rushing this step can cause cracks or uneven spots later. Patience leads to better results.
Common Mistakes to Avoid
Many problems during drywall installation happen because of small mistakes. Paying attention to detail makes a big difference.
- Using too few screws, which can cause sagging
- Skipping proper sanding between coats
- Applying thick layers of compound that take longer to dry
- Not protecting floors and vents from dust
- Painting before the surface is fully dry
Another mistake is poor seam blending. If the compound is not feathered out wide enough, you may see visible lines after painting. Good lighting during sanding helps spot flaws early.
When to Call a Professional
Some small patches are simple for homeowners. Larger projects can be harder than they look. Ceilings are heavy and awkward. Tall walls require ladders or scaffolding. Smooth finishing takes practice.
You may want professional help if:
- The project covers multiple rooms
- You are finishing a basement
- You need textured finishes
- The framing is uneven
- You want a paint-ready surface without visible seams
A trained crew brings the right tools and experience. They can spot framing issues, reduce dust spread, and complete the work on schedule. This often saves time and reduces stress.
Final Recommendation and Next Steps
If you are planning drywall installation in Alexandria, VA, it helps to work with a team that handles the full process from prep to final sanding. At Ian Decorations LLC, we manage every stage with care and clear communication. We keep the workspace organized and respect your home. If you have questions or want to schedule a walkthrough, call (571) 368-5754 and we will be glad to help you plan your project from start to finish.